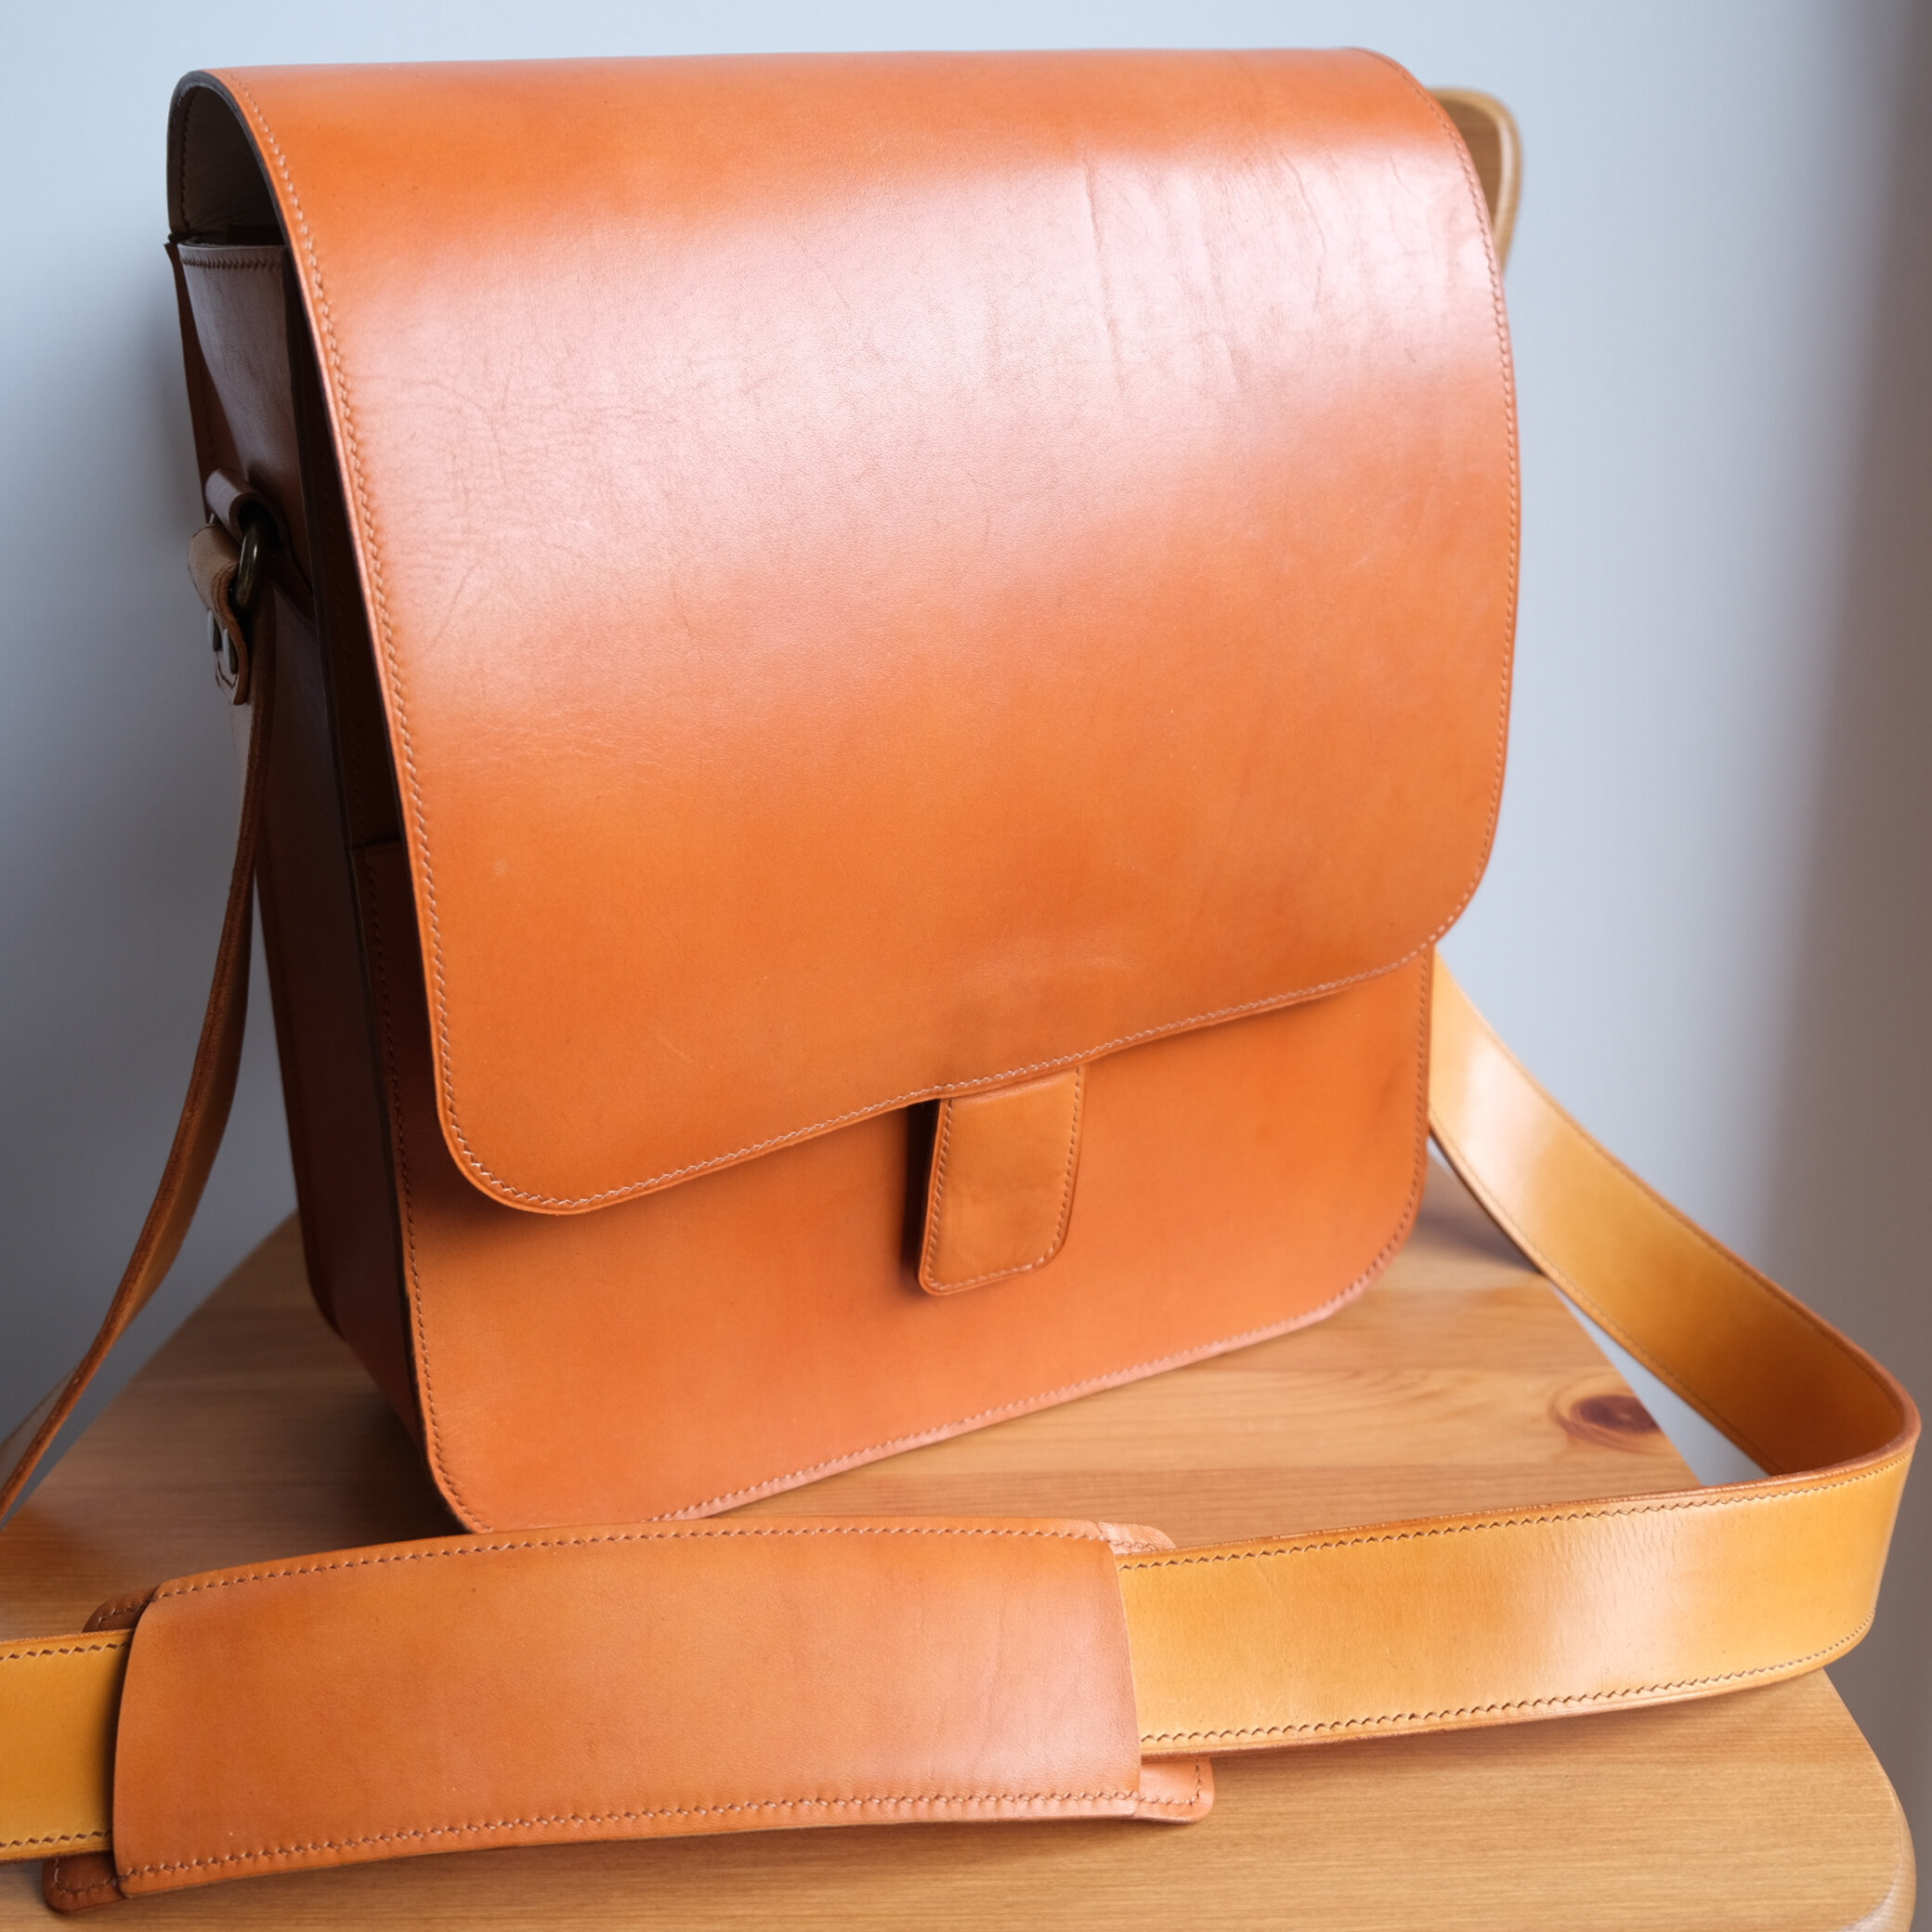
I was asked for a slightly different version of the Safari Bag. This one was to be taller and narrower, but much the same as the previous one. I hoped to apply the learnings from the last go to this one. There’s a tl;dr at the end of the post.
I used natural veg tan dyed English Bridle (Fiebings) using an airbrush, and finished with Fiebings Aussie. I cut out the template pieces out of the dyed leather. For lining of the flap and zips I decided to use natural Kangaroo.

Undyed leather

Dyed with Fiebings English Bridle
I seem to never learn that I should have a trim allowance, so I just cut all the pieces in their final dimensions and hoped to make the best edge-matching as I could.
Knowing that quite a few skives would be needed around seams I decided to try something different. I punched all the holes I would need to sew, and then skived them. Skiving leaves the leather at an angle, which makes it a lot harder to punch straight.
I wanted to use the matching holes method to the gusset. The traditional way is to punch holes in the main bag, glue the gusset, and awl through the holes into the gusset. However I’m not confident in my awling technique so I decided to do this one a little differently too. I marked the straight portions where I used my 10-tooth irons, and the curved portion where I used my 2-tooth irons, and counted the holes in each section. Matching the centre points of the main body to a strip of salpa I matched the holes up and punched the straight section of the base. For the curved radius I pinned the straight parts, and held the salpa in place and awled through. The purpose of this was to get an estimation of where the hole would end up. As expected the awled holes weren’t in line with the standard pricking line, so I fixed those up later. These salpa holes are the ones I transferred to my gusset, so theoretically everything should line up. With the gusset punched, that too was skived.
With lining up the holes carefully I glued the gusset to the back panel and stitched it.

Gusset corner attached using matching holes method
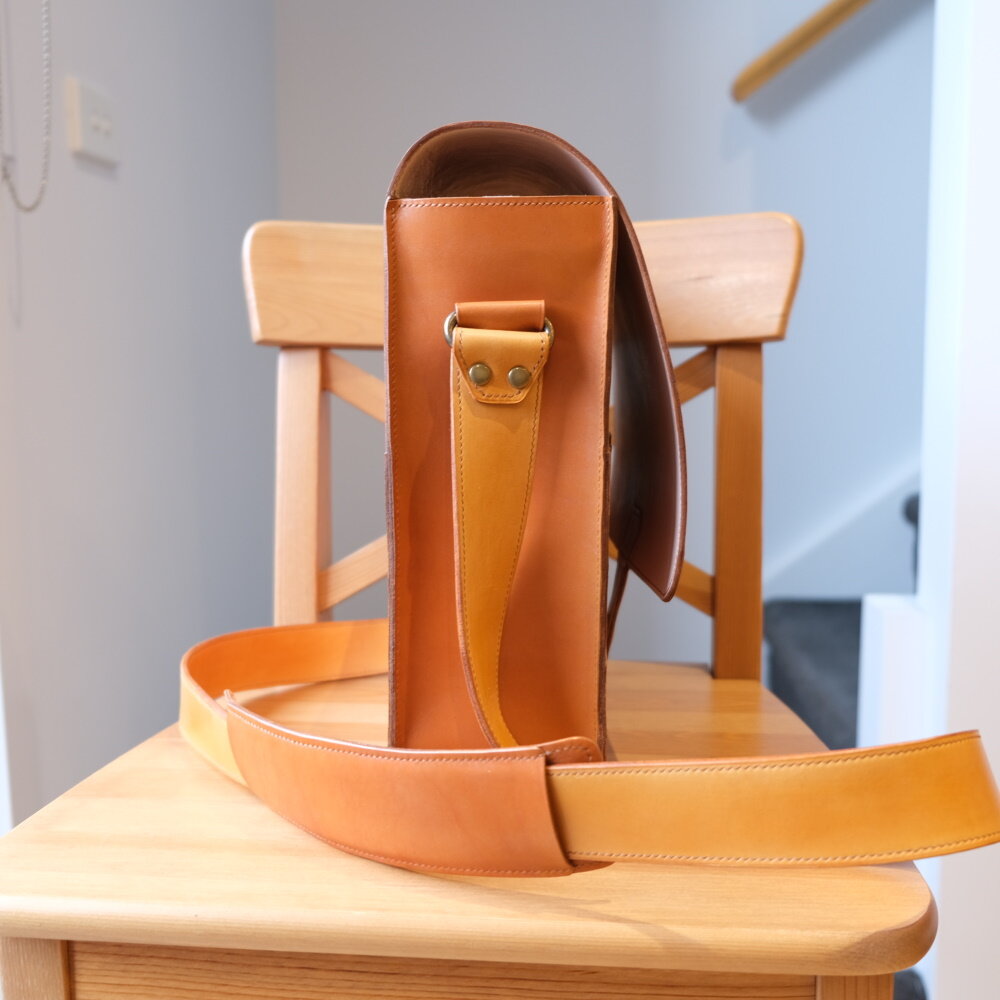
I made some enchapes to attach the bag strap to the body. I’m not 100% happy with these either. I riveted the back to the gusset, and the front was stitched to the body. The theory of this holding is fine, but the way I did it doesn’t look fantastic, so this is something I would work on next time, by making the back a lot smaller since it doesn’t need to be caught in the stitching from the front.

Enchape front

Enchape rear
The zipper plackets were pre-punched, the zipper glued in temporarily with double-sided tape until it could be permanently stitched. I didn’t attach any zipper stops yet, I’ll do that at the end after the plackets have been sewn to the bag body because they need to be completely separated until then.
The flap I planned differently too. The difficulty was in predicting where the flap closure would sit on both the front pocket and the flap. So my plan was to glue the flap from the rear (where it attaches to the back main panel), glue the curve over the bag opening, then see where the flap came down to, giving me an approximate location of where to place the closure on both the flap and the pocket, and whether or not I’d need to shorten the flap based on the design I had planned.
This backfired a bit when I didn’t stitch the top of the back main panel to the flap, so I ended up taking the flap apart, stitching the back panel, drop liner, and zipper placket to the flap liner, then resealing the flap and stitching it back. This is a mess up I won’t make again.

Flap glued on a curve

Flap stitched up
I made the shoulder pad using some scrap and foam glued on a curve.

Foam attached on curve

Curve jig
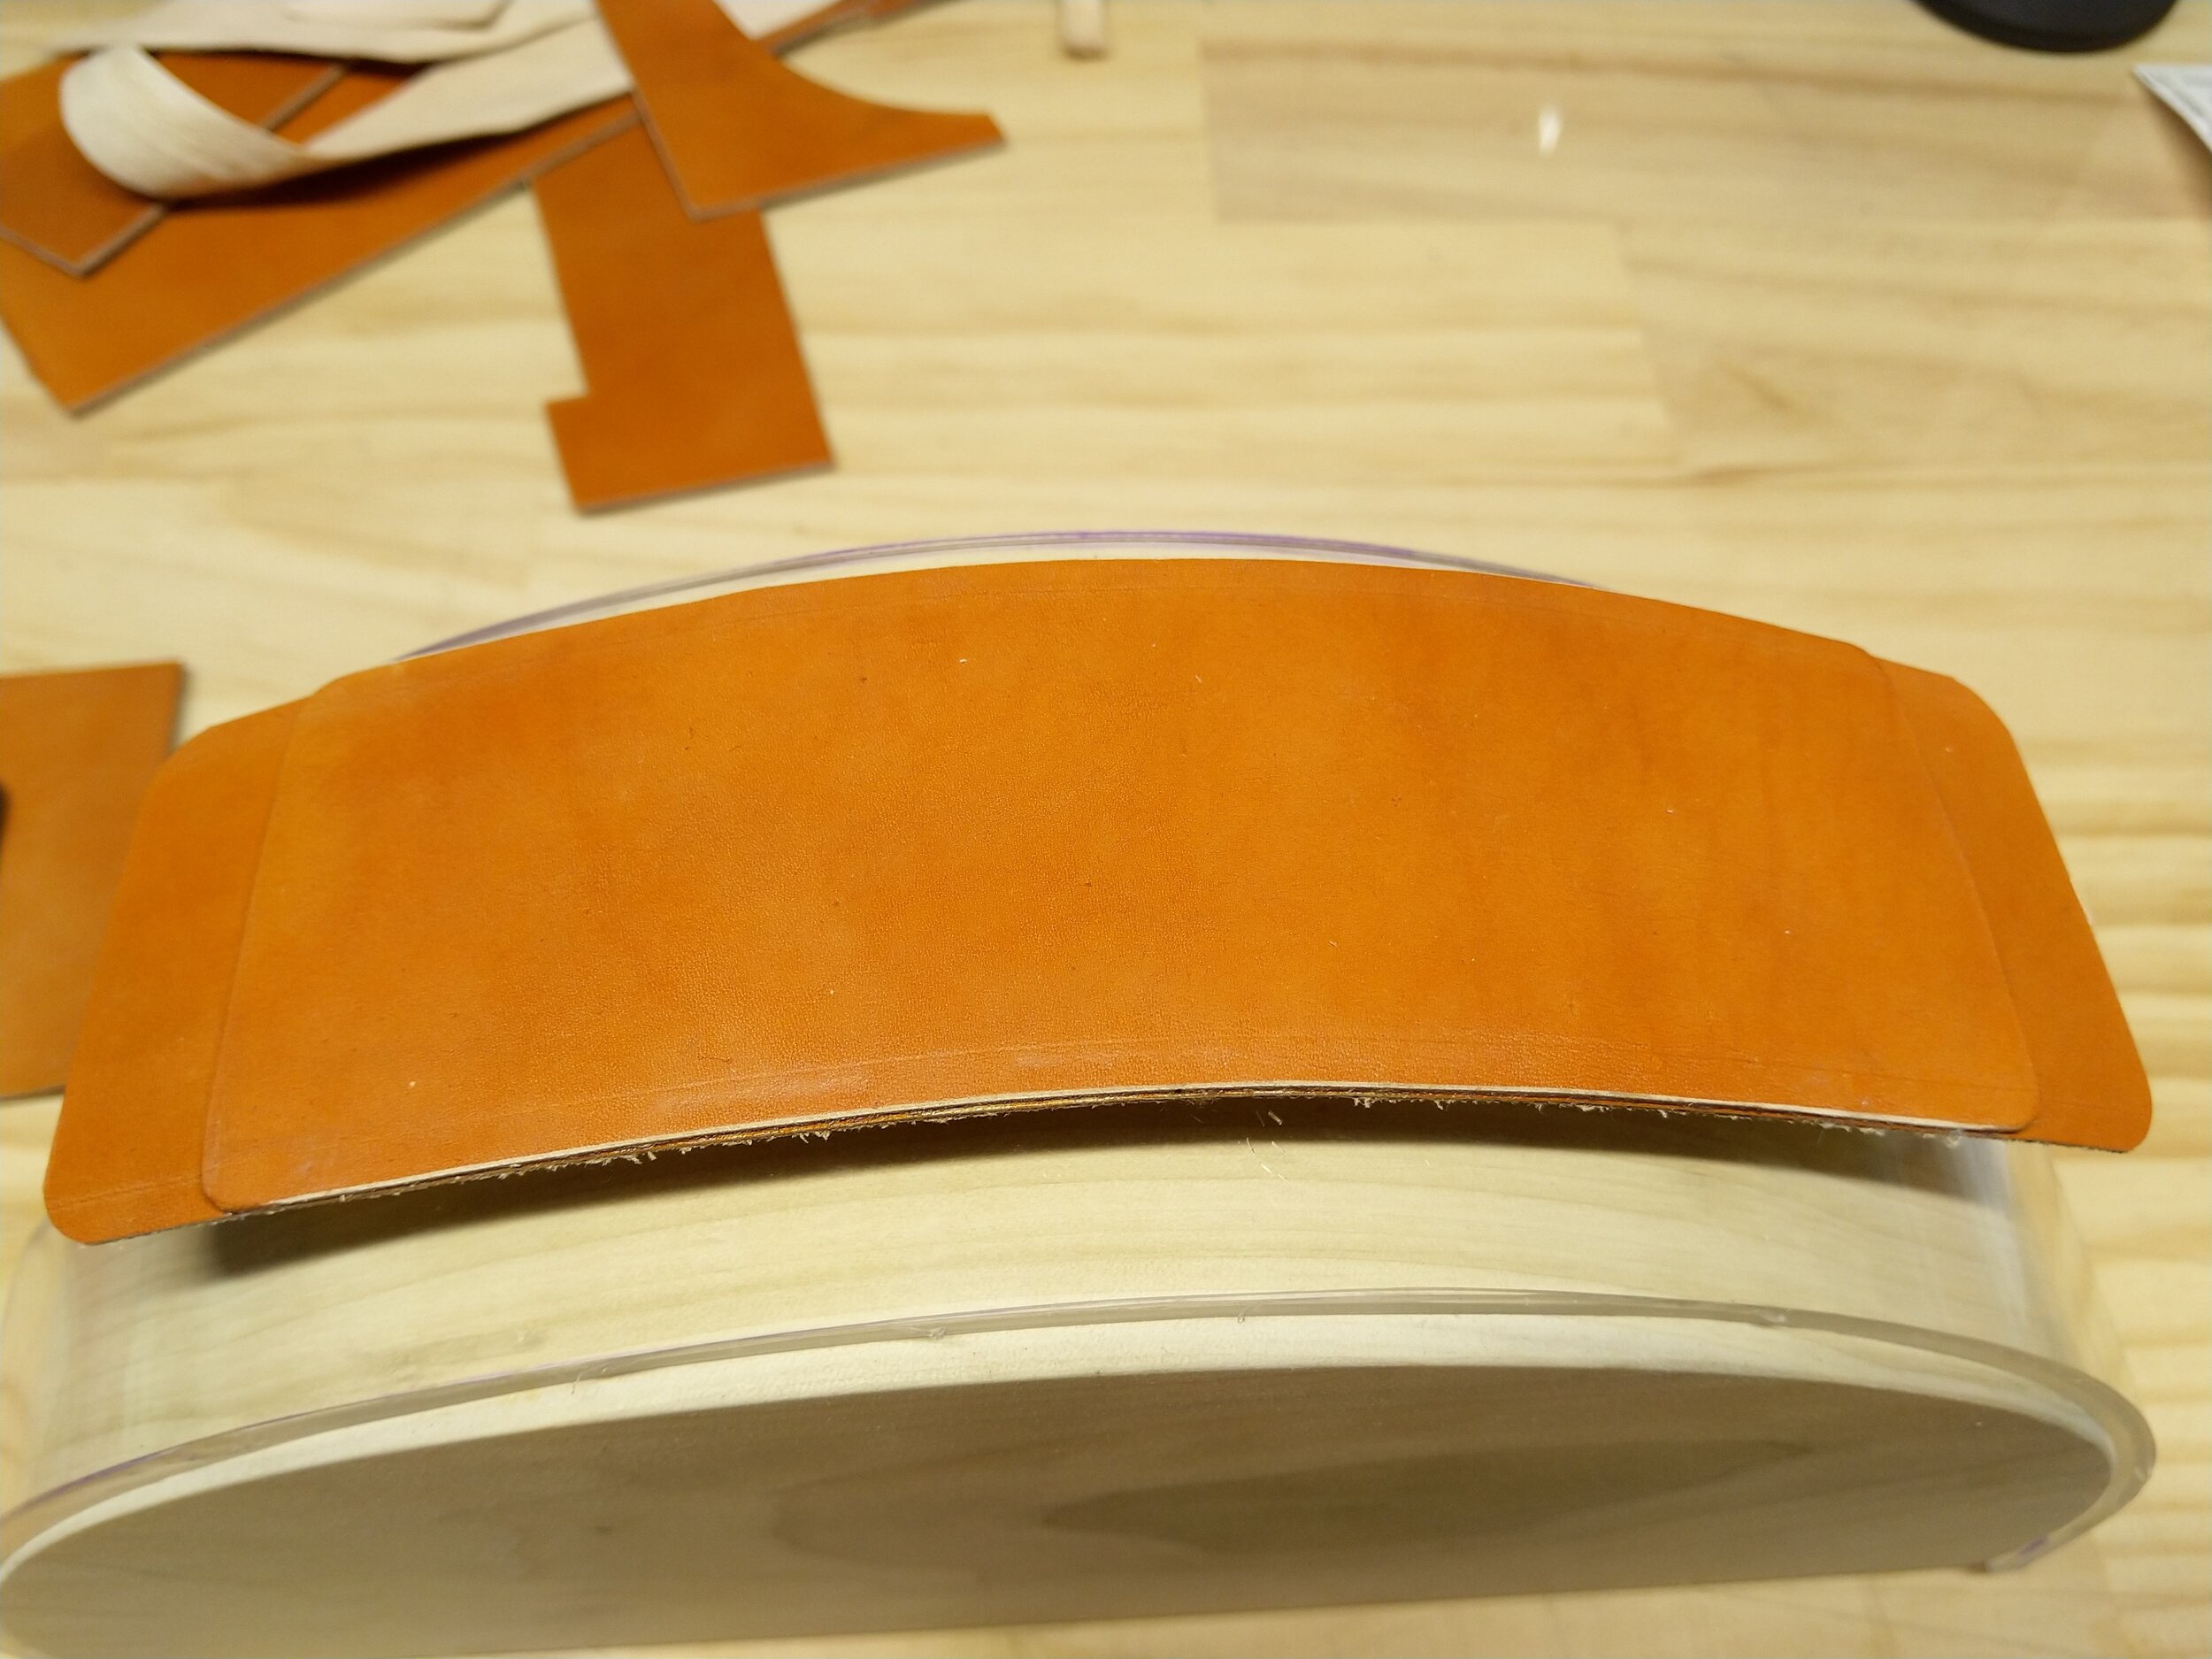
Top layer also on curve
The whole leather outer bag was built. Next I tackled the liner. I cut out of natural kangaroo a strip of leather plus a larger mid-section which would make up the internal zipper pocket. I had pre-pricked holes on the bag’s top edge before assembly so I used these as a guide to figure out how long the drop liner strip should be.

I used the completed bag’s inner dimension to make the fabric liner. I made the fabric liner a little shorter than the top of the bag. It would be stitched to the kangaroo, which would in turn be stitched to the edge of the bag.


I made a fabric mockup of the liner using calico. The first version was a little big, but the second version fit just right. I dismantled this and used it as a template for the actual fabric I would use for the final liner, linen and canvas.
With the final fabric liner made up I stitched the zip pocket to the leather first, and then the rest of the fabric liner to the leather strip. Matching my pre-punched holes at the top of the main panels and gussets I stitched the leather strip to the main body.

Lastly I stitched the belt strap. The plan was to make it adjustable, however at the start of the project I was a little short on leather from the original hide, so I bought some belt blanks and skived them down. Even skived they were much too thick, so I decided to estimate a reasonable length for a crossbody strap and keep it a fixed length.
tl;dr
The rough order of operation for this bag was:
Prep, dye, and finish the leather required for the project and cut out the pieces
Prick edges and skive edges that require it (if using a drop liner, prick these holes too and awl them into the drop liner)
Figure out gusset length if your design hasn’t already done so
Edge finish the following:
Zipper placket edges
Top of gusset (once you know the final gusset length)
Top of pockets
Enchapes
Flap base that attaches to the back main panel
Make the strap shoulder pad at any point. Stitch the strap at any point.
Attach enchapes to gusset (once you know the final gusset length)
Burnish back of pockets or attach lining to it if desired (only to back pocket. Front pocket lining needs to be attached after female part of magnet has been attached)
Stitch flap base to back main panel
Glue flap on a curve. Attach male magnet part, back it with reinforcement, and laminate leather. Trim any excess and stitch up the flap
Glue back pocket to back panel and pin gusset into place. Stitch gusset to back panel
Pin gusset to front panel and pocket. Close flap and estimate where the female magnet part needs to be attached
Attach female magnet part, back with reinforcement to cover the mechanism so it doesn’t catch on anything, and attach the lining
Stitch gusset to front panel
If using a drop liner, use bag’s final internal dimensions to create the fabric liner. Using the pre-pricked holes awl the drop liner leather. Attach the zipper placket and sew in place. Finish attaching zipper stops
Edge finish all remaining edges
With the bag basically finished thread the strap through the shoulder pad and attach it to the enchapes