
A friend asked me to make them a tricorn hat for a pirate costume a while ago, but before I agreed to it I wanted to make one for myself to make sure it was an achievable goal. So after I successfully finished my Indy hat, I started to have a think about how I’d make this tricorn hat. I decided that I was going to make a modified version of the Indy hat for him.
Adjusted hat pattern
Prep Work
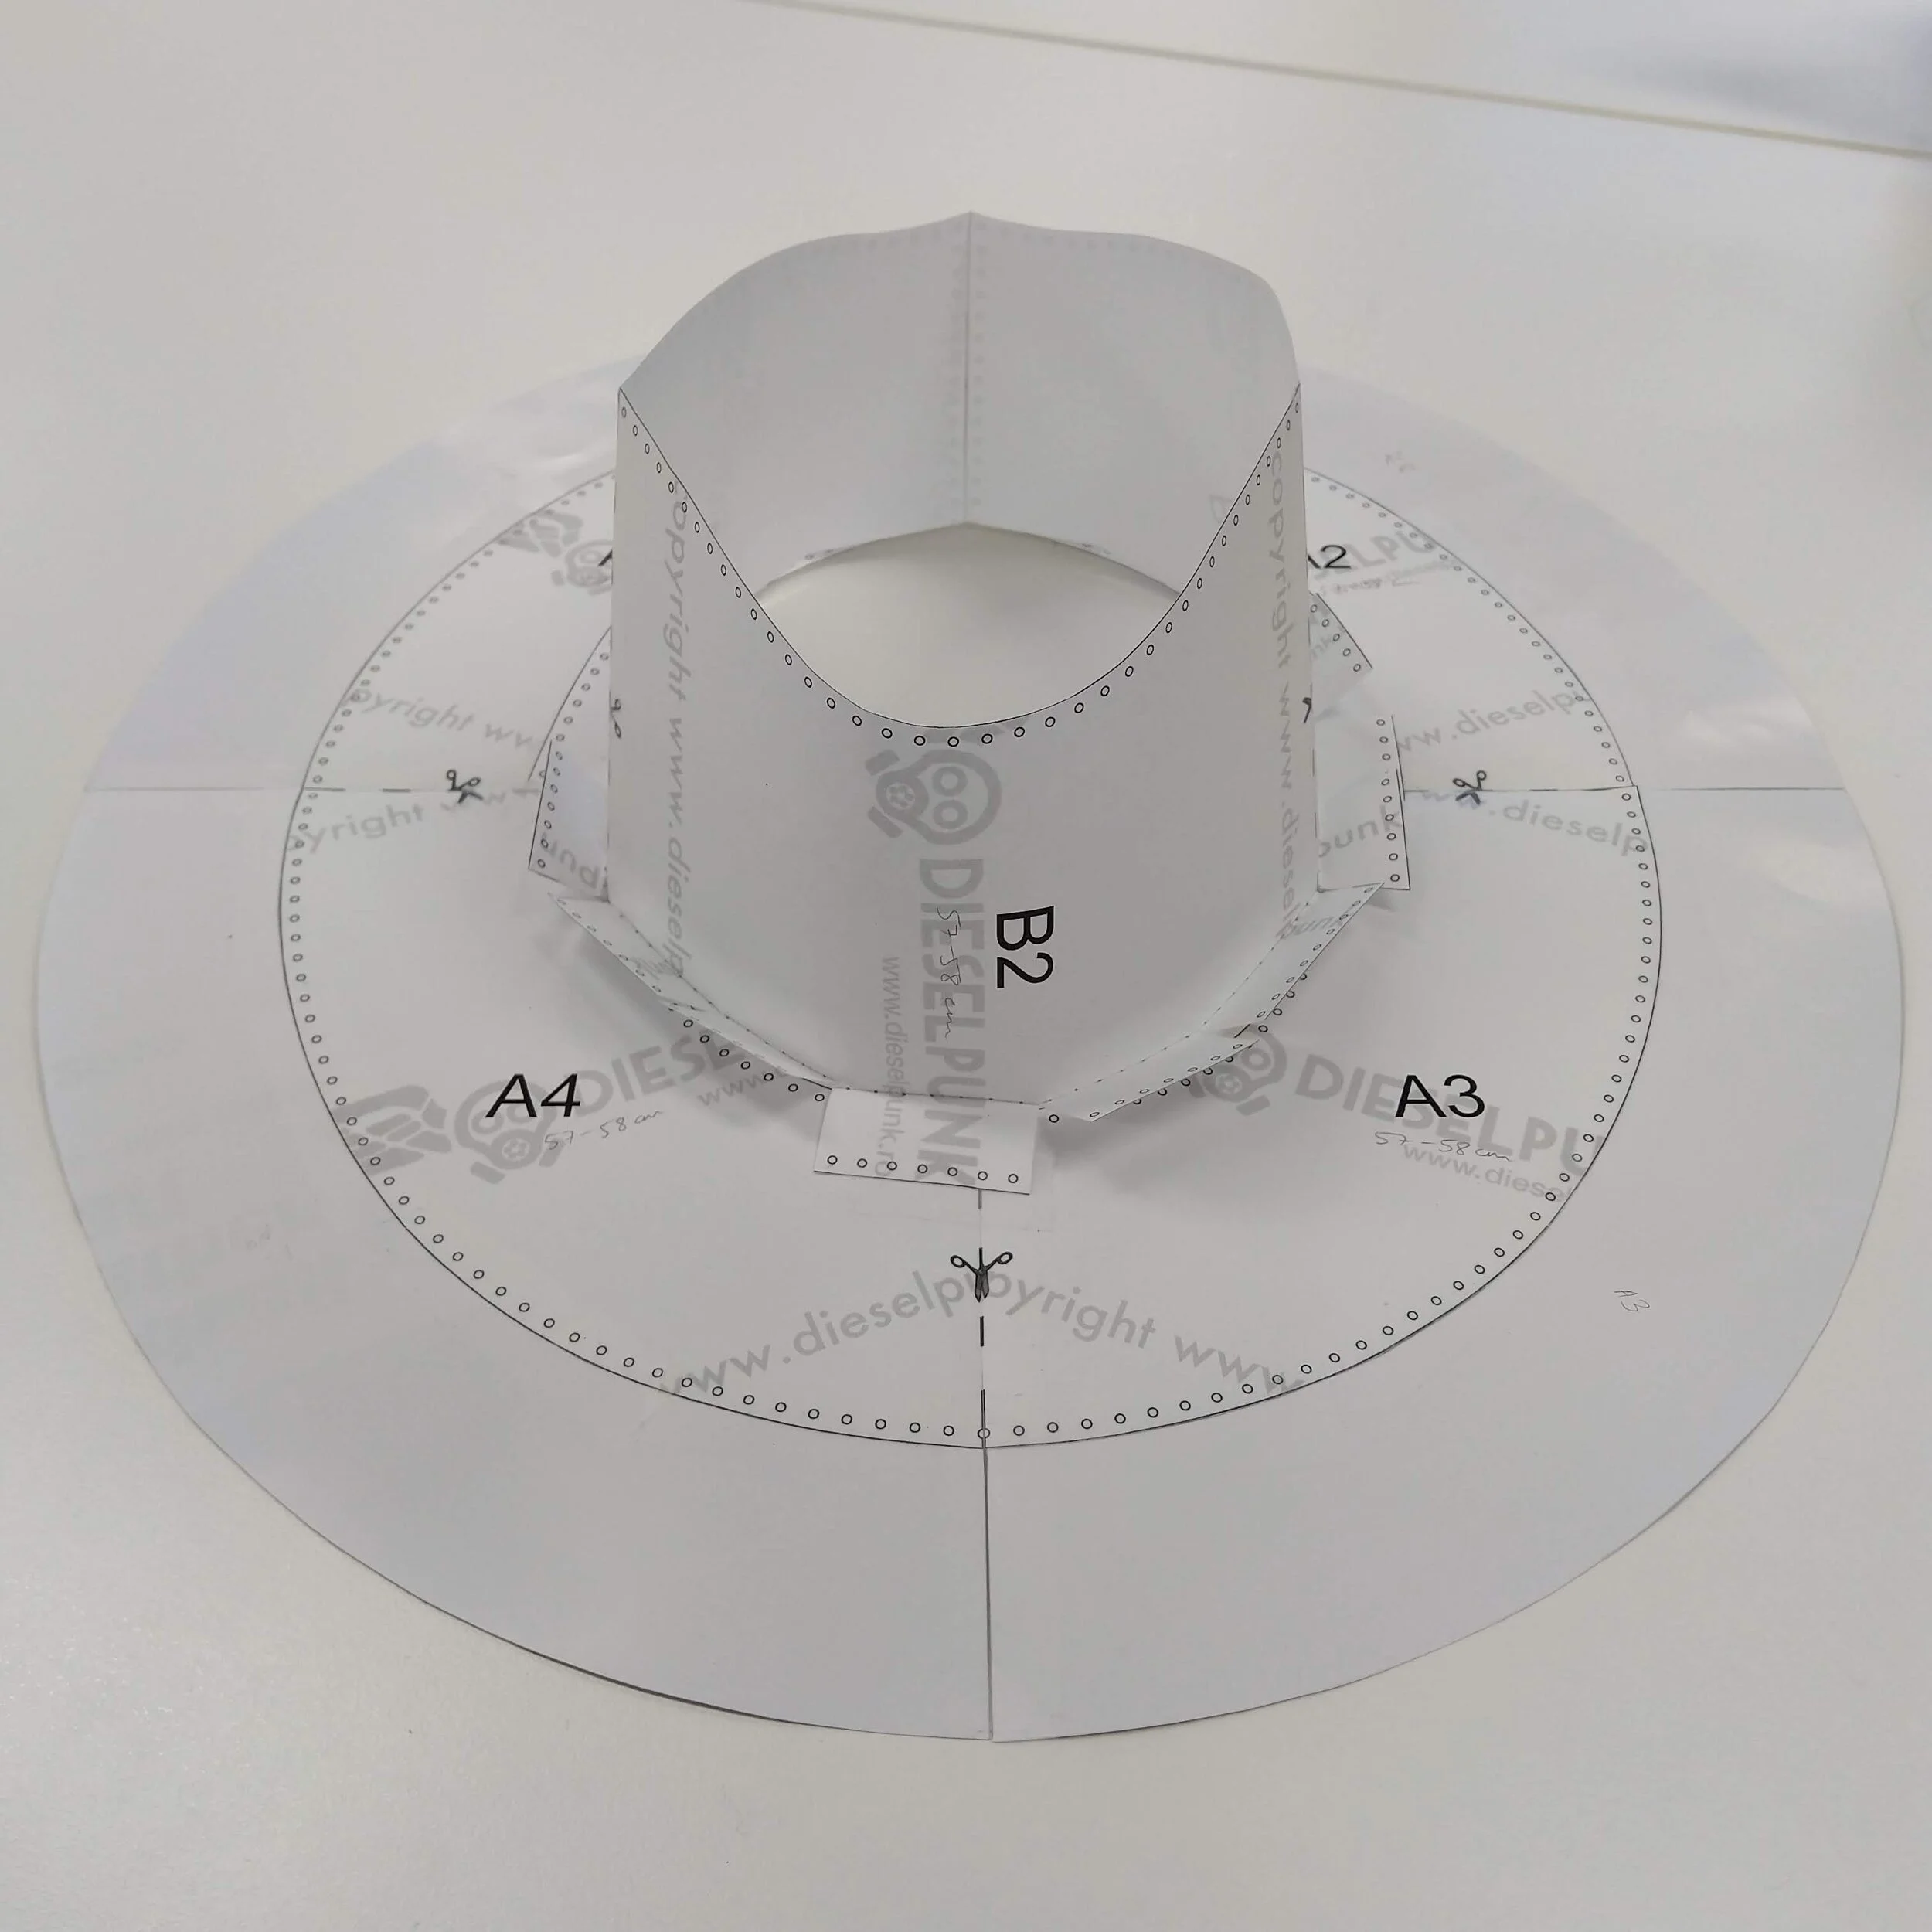
I printed out the pattern on paper in the size I needed it for his head and got him to pop it on to make sure the fit was fine. A little loose is fine
We then made adjustments to the pattern while it was on his head, deciding how much to shorten the crown and how much to widen the brim
I added 5cm to the brim, and marked 2cm from the bottom of the crown
I assembled the adjusted pattern and trialed it on the client’s head. It’s a perfect fit and the brim is a good width
Now that the pattern had been finalised, I lay it all out on leather and cut it out roughly to size
I dyed, buffed, and finished the leather, making it ready for the final cut
Assembly
I placed the paper templates on the leather, and lightly scratched around them with a scratch awl, carefully cutting the outlines
I left the templates on the cuts, and marked any holes (e.g. I have stitching holes marked on my template), then punched them out
Putting the brims flesh side together, and sandwiching the crown gusset between the layers, I stitched around the brim. This was very tricky because saddle stitching requires two hands, and you might be holding the hat with one, so do what you can to make it comfortable (I rigged a pulley with a bulldog clip and kitchen twine to hold the hat up while I stitched)
One of the last steps in assembly is stitching the crown. The way you stitch it is up to personal preference. I like the turned edge where the stitch line is on the inside. Once that’s done, turn the hat outside in
The brims need to be attached to the crown. I decided to do a double attachment. The inner brim is attached to the crown by a rivet, and then four holes will make an X-mark to attach both brim layers to the crown
With the brim attached, I will attach a strip of cloth to the brim so that accessories can be hung from it
I stitched the fabric strip onto the front brim, and made slits in the brim for the fabric to tuck in between the two brims
Next I punched holes all around the outer brim and refastened the X to keep the outer brim in the correct position. Then with an awl I pierced the second brim layer as I saddle stitched. After the whole brim was stitched, I trimmed off the excess to make both layers flush
After the stitching is done, a quick dye and burnish on the edges and the hat is complete!

Brim layers sandwiching crown gusset

Stitching the brims to the crown

One brim layer riveted. Holes for X punched

Brim being awled prior to saddle stitching